WordPress Lesson 3 – How to Transfer Your Website from School to Home (Backup and Export)

Introduction
This lesson is more advanced and covers a wider scope of WordPress functionality.
If we were working as professionals, we would use a version control system (Git) — such as GitHub, GitLab, or Bitbucket.
However, for the purpose of this lesson, we’ll use the standard manual method, which works just as well — backing up both the files and the database.
Backing Up WordPress Files
To move a WordPress site, we need two main components:
A backup of the files
A backup of the database
Let’s start by creating a backup of the file system.
If you followed the steps from Lesson 1, your website should be located here:
C:\xampp\htdocs\project-name
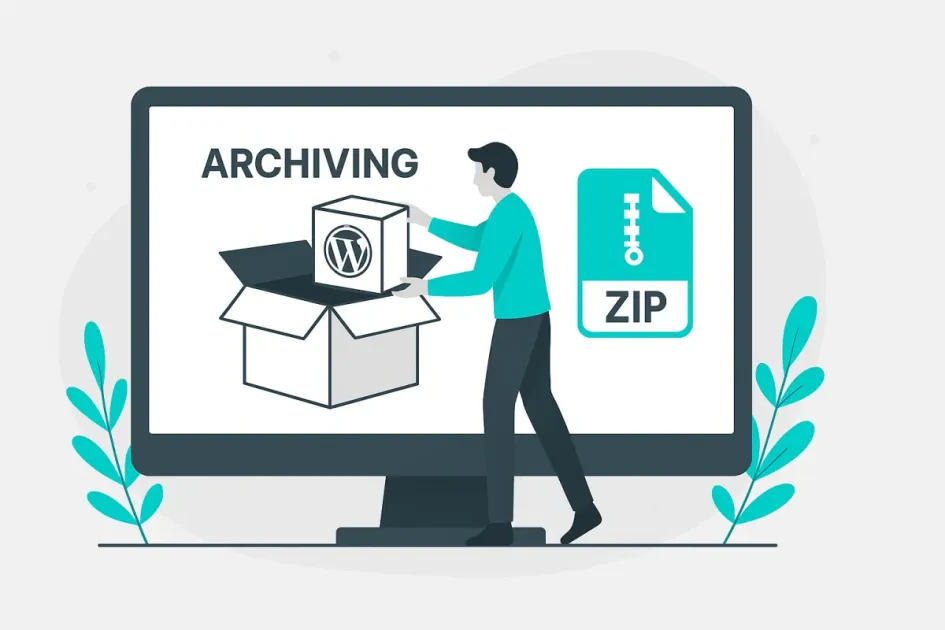
Archive the folder of your project using ZIP, RAR, or 7z.
This will include all your themes, plugins, and uploaded images.
📸 Image placeholder: folder structure C:\xampp\htdocs with project folder “picaria.com”
Backing Up the MySQL Database
Once the files are backed up, the next step is to export the database.
You can do this in two ways — using phpMyAdmin or via CMD (Command Prompt).
Make sure Apache and MySQL are running in XAMPP
Open your browser and go to
http://localhost/phpmyadmin/Select the database linked to your site (e.g.,
wp_picaria)Click the Export tab
Choose Custom export method
Make sure all tables are selected and both structure and data are included
Click Go
Save the generated .sql file together with your WordPress archive.
📸 Image placeholder: phpMyAdmin export screen with selected database
Creating a Database Backup via CMD (if phpMyAdmin fails)
If you encounter an error during export, use the command line method.
Open CMD (Command Prompt) from the Start menu or Windows Explorer
Navigate to:
cd C:\xampp\mysql\bin
Run the following command:
mysqldump -u root -p wp_picaria > C:/xampp/htdocs/wp_picaria.sql
This will create a backup of your database in the htdocs folder, named wp_picaria.sql.
📸 Image placeholder: CMD window showing mysqldump command execution
What You Should Have So Far
A WordPress file archive (containing all themes, plugins, and uploads)
A database backup (
.sqlfile)
Restoring the Website from Backup
Now that you have both backups, you can restore your site on another computer.
Copy the archives from your flash drive, cloud storage, or email
Make sure XAMPP or another local server (like LAMP) is installed
(if not, refer back to Lesson 1)Extract your WordPress files into:
C:\xampp\htdocs\
Open
http://localhost/phpmyadmin/Create a new database with the same name (e.g.,
wp_picaria)Go to the Import tab and upload your
.sqlfile
Once the import is complete, your site will be restored and accessible locally.
📸 Image placeholder: phpMyAdmin Import tab with selected .sql file
Conclusion
In this lesson, we learned how to back up and migrate a WordPress site —
including both its files and database.
These are essential skills for managing WordPress projects safely and are the foundation for more advanced operations such as server migration or publishing your site online.
📸 Image placeholder: XAMPP Control Panel, phpMyAdmin, and zip archive icons on a screen